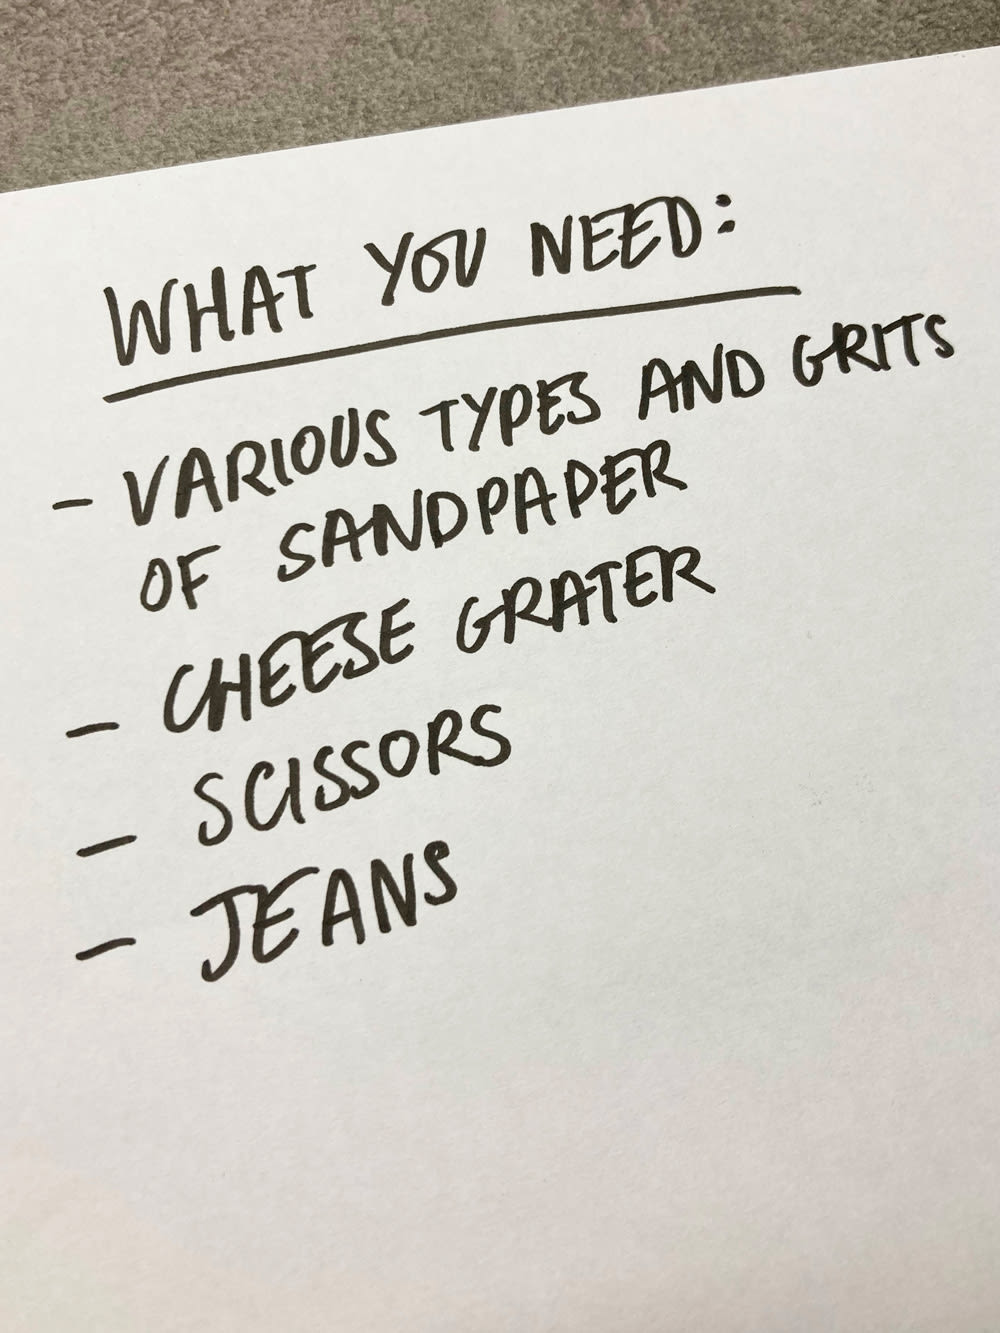
UO DIY: How To Distress Your Denim With Menswear Designer, Phil
Follow our step-by-step guide to distressing your denim.


Step 1 - Whilst wearing the jeans, use the sandpaper to mark the areas you want to distress. Good places are knees, hips and groin.

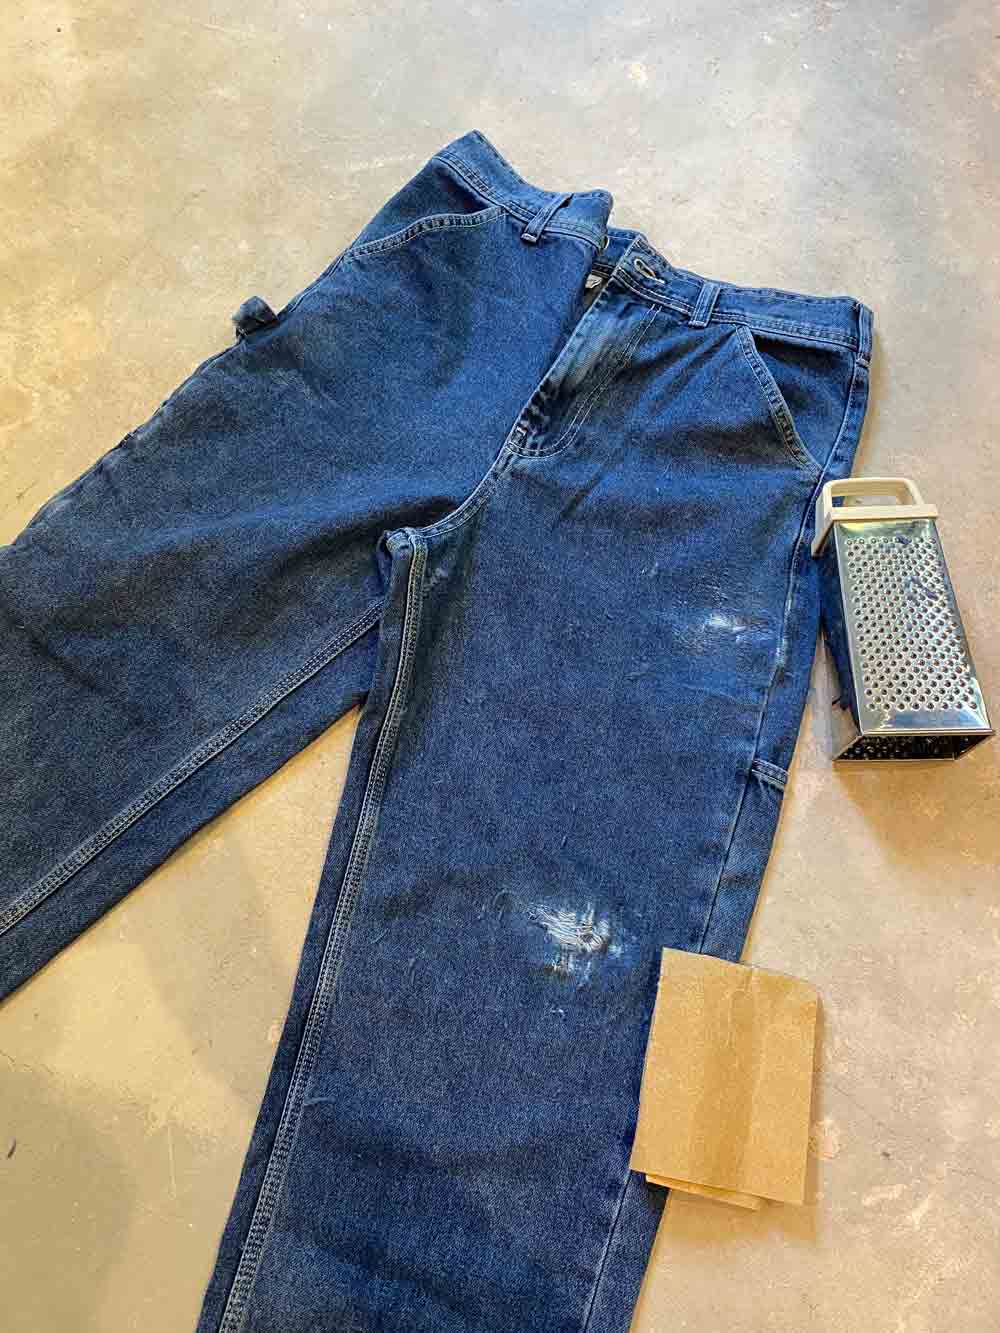
Step 2 - Start by making the largest distress marks using a more coarse sandpaper sheet.
Tip: work across the jeans left to right rather than up and down.
Tip: work across the jeans left to right rather than up and down.
Step 3 - Use the cheese grater on the zesting side to make smaller marks. Blend around the distress holes using a less coarse sandpaper. Less coarse sandpaper will fade the denim colour in order to achieve a more authentic, vintage look.
Tip: Be careful when using distressing techniques over seams, eroding stitching will create holes.
Tip: Be careful when using distressing techniques over seams, eroding stitching will create holes.
Step 4 - Trim any unwanted, loose threads.
Step 5 - They’re ready to wear! Pair back with a graphic tee and staple trainer.